I wanted lots of support underneath and finally decided to make a series of beams myself using exterior wood glue, screws, nails, pole barn spikes and steel bolts to tie the beams all very tightly together. I was fortunate to find an air framing nailer on sale for $69.00 at Menards. I figured for what it would cost to rent one and if it only lasted for this one job it would be worth it. It did a great job getting the glue covered components tacked together squarely until the glue could dry and so I could install the screws, pole barn spikes and steel bolts.
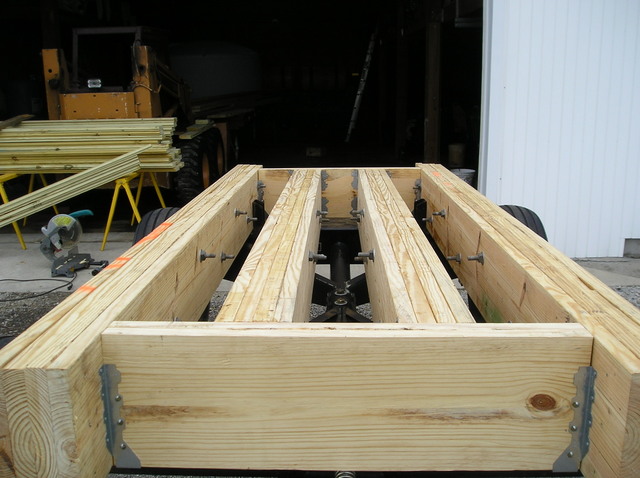
I ended up making 4 laminated beams each consisting of four 2 x 12's. Making for 4 beams that measure 6 inches across by approx. 11.25" high. The 2 inner beams were cut slightly shorter to allow for doubled up 2x12's to tie everything together into a boxed configuration. All the joints on these cross ties with the beams were reinforced with structural ties and nailed and screwed together.
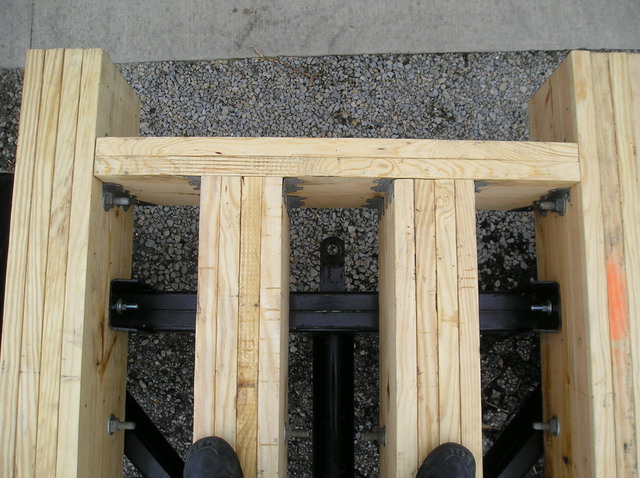
I ended up reversing the upright steel stakes on the wagon and placing them on the inside of the 2 outer beams instead of the normal position on the outside as this allowed me to get my beams further apart to better support the load of the tank.
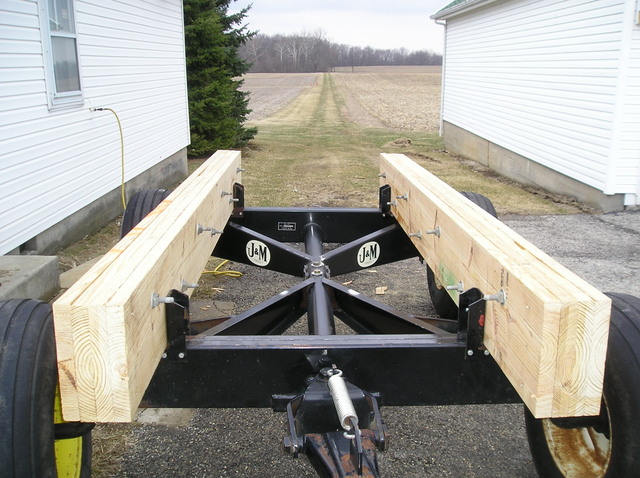
The Co-op versions only use a single beam on each side that is like a 4x10 single piece of wood while this design more than doubles that.
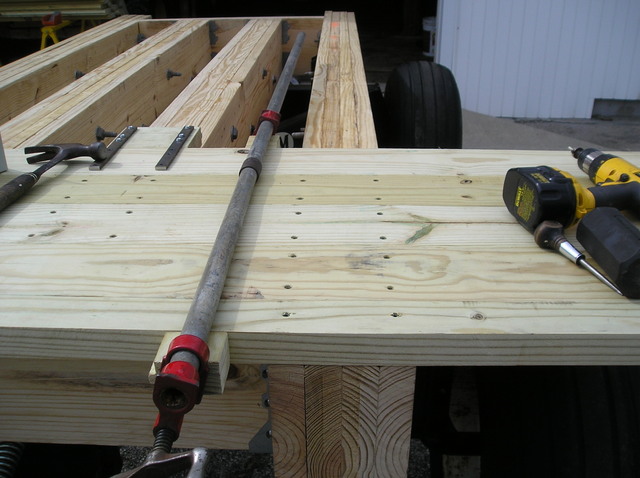
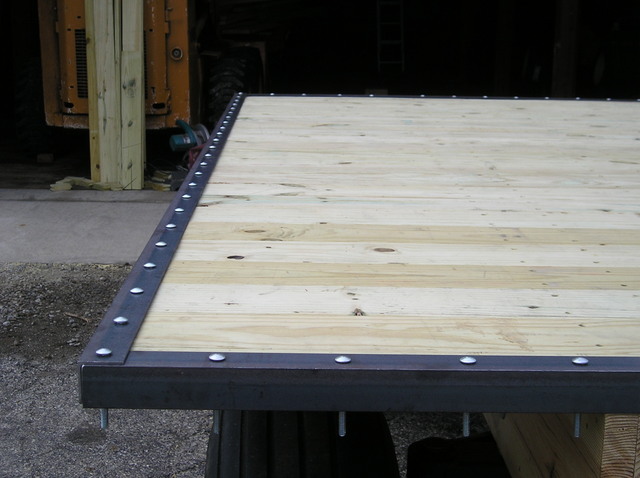
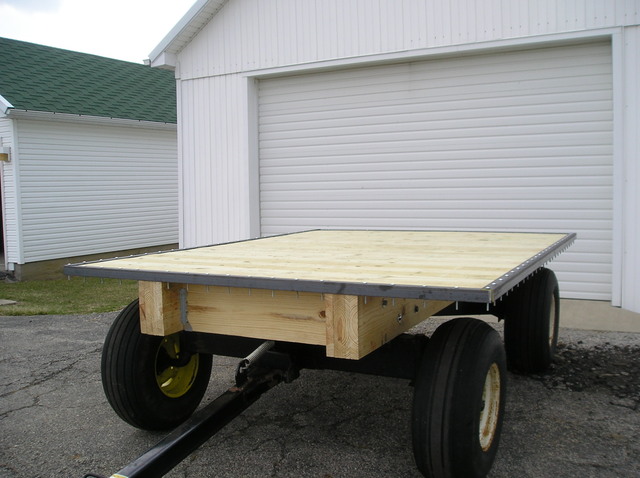
Next came the 2x6 tongue and groove treated lumber decking. I used a pipe clamp to pull them tightly together and carefully measured as I progressed with the flooring to keep things even. The Co-op design is just 2x6 boards with small gaps between but those units set outside year around and the rain needs a way to drain through.
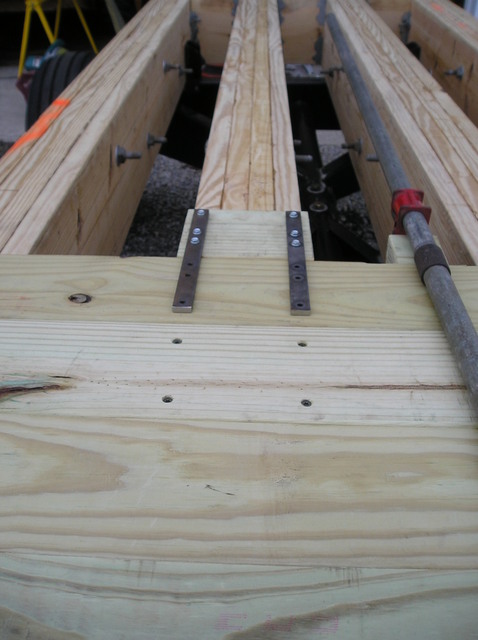
I made this little tool for aligning the decking screws down the length of the wagon. Each 2x6 board is held down by 16 countersunk 3-1/2" long torx head coated decking screws 4 going into each beam underneath.
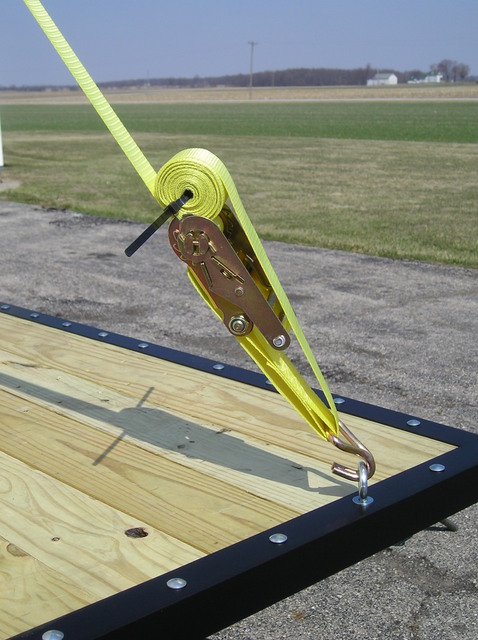
Once the decking was down I reinforced the perimeter of the 2x6 decking with a 2"x2"x1/8" angle iron frame to serve as a rub rail and to hold the outer ends of the deck boards flat. There is no structural support under the outer edges of the 2x6 decking as cantilever forces lift up on the outer edges. A coating of black Krylon paint on the angle iron frame and some 5/16" carriage bolts hold everything firm.
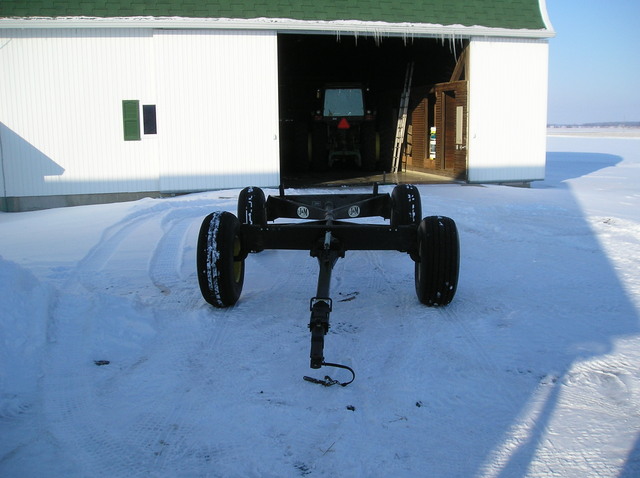
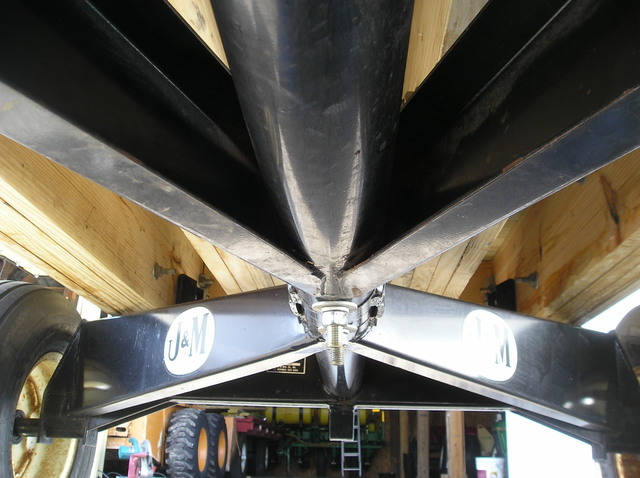
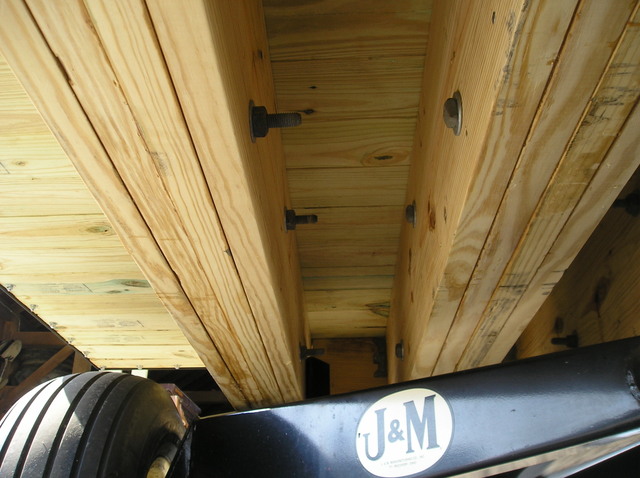
Here are some views underneath of the completed wagon.
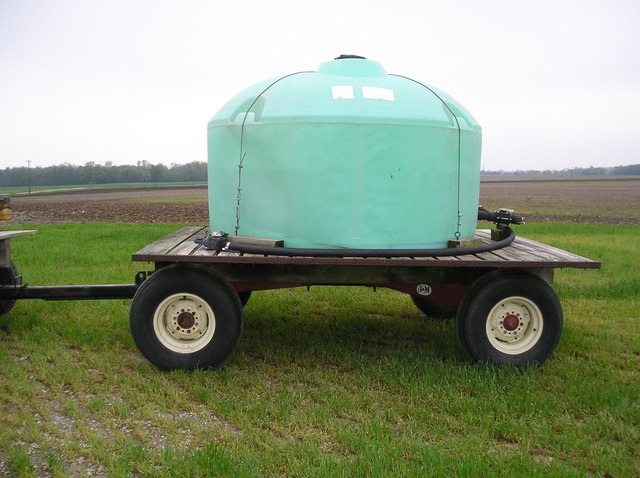
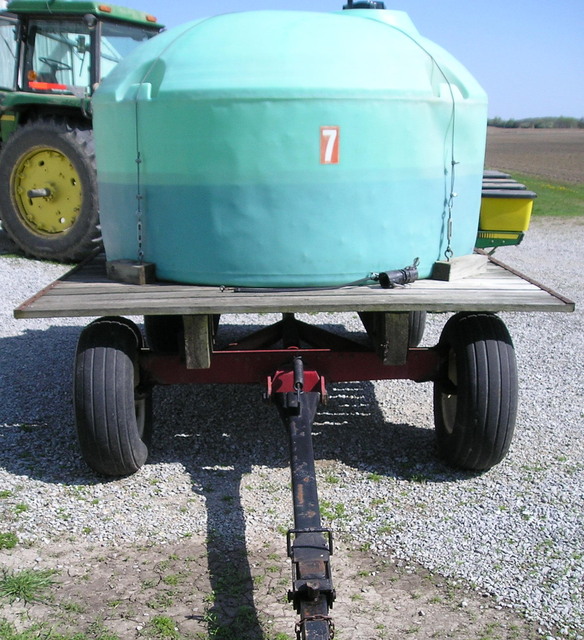
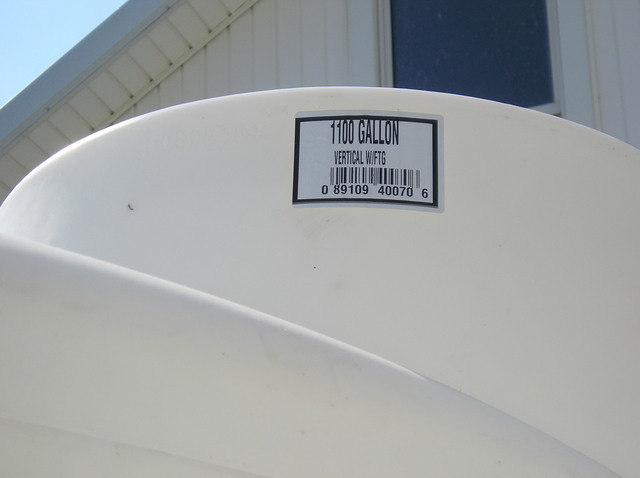
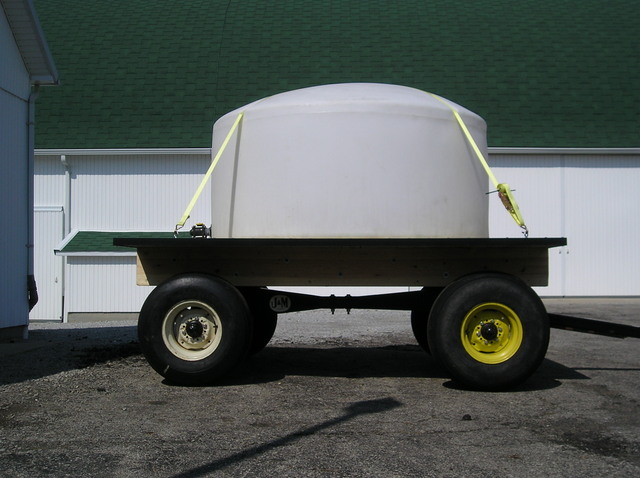
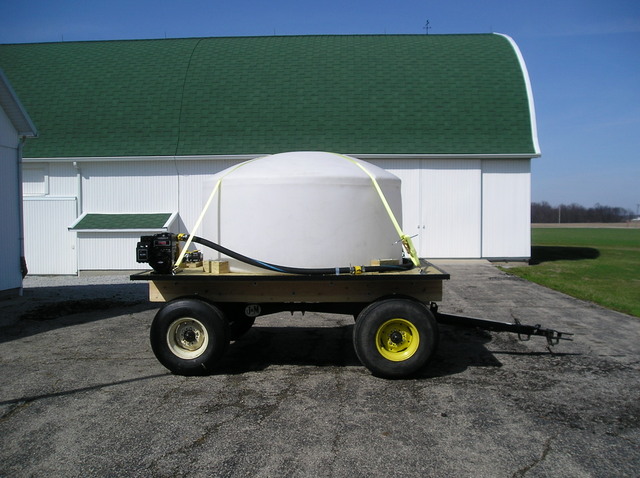
A Norwesco 1100 gal tank was place centered on the wagon and 2 nylon ratchet straps are loosely tightened in eye bolts to keep it from bouncing off or being blown off when empty.
Tripled up 2x6 blocks screwed together sit against the tank on all 4 corners to keep it from sliding in any direction on the wagon and are bolted down through the floor with 1/2" carriage bolts.
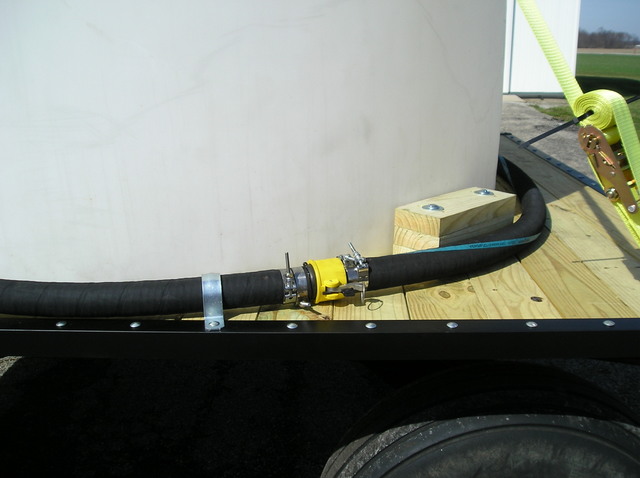
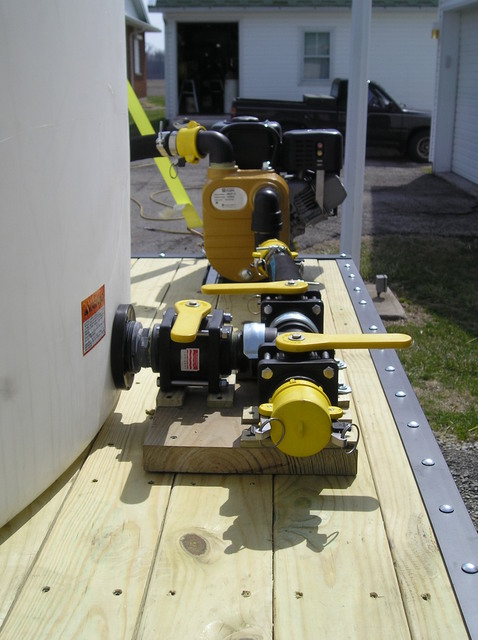
A Monarch 2" pump and 5 hp motor with 2" hose completes the plumbing package and the 3 valve setup on the back allows multiple pumping options.
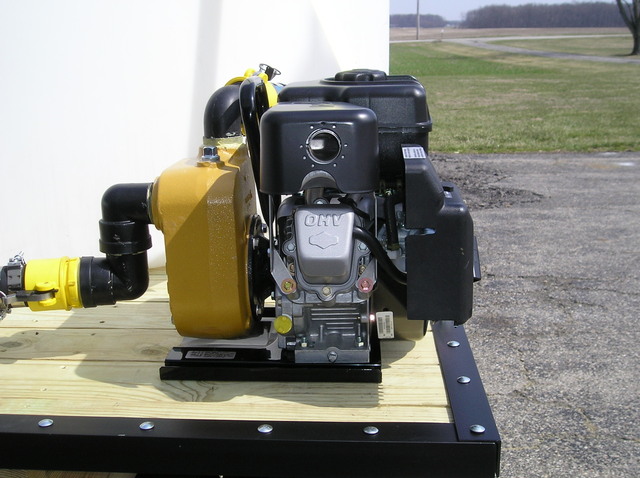
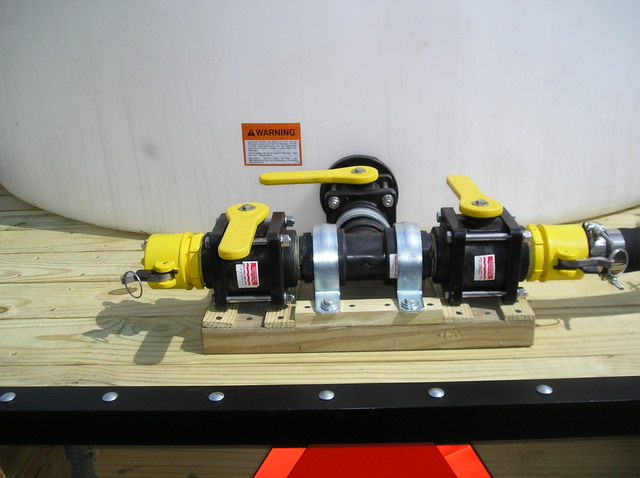
a) The tank can be closed off from all the plumbing, or b) by opening 2 valves pump fertilizer from the tank and send it through the hose to the planter or c) by opening the tank valve and closing the valve going to the pump and opening the 3rd valve allows isolation of my pump/supply hose for refilling the tank from other supply tanks equipped with pumps or d) allows me to connect another shorter hose to the fill port and my planter,close the tank valve, and open the other 2 valves and once I start my pump I can use it to pump out my planter tanks at the end of the season and pump the extra fertilizer back into my tank.
A piece of treated 2x12 and small additional treated shims were cut to remove all the weight of the valves and plumbing off of the tank fitting. Some 2" electrical conduit clamps hold the valves securely down so no strain is introduced to anything when the valve handles are turned.
All in all I am very pleased with the way this turned out and while others may disagree with the manner or materials I used to construct this. I think it will work very well for my situation "here"
Thanks to everyone that offered suggestions and I hope you enjoy the pictures and walk through on this project.
You can view more pictures of the project here
 Follow up fertilizer tank wagon. Dial up warning lots of pics