The other day I had a post of a drip irrigation planting and tape laying http://u15205752.onlinehome-server.com/forums/thread-view.asp?tid=4...
Here goes round two with a little more info and explaination. 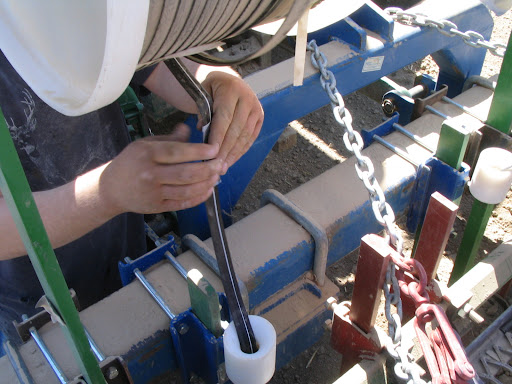
Here the guys are changing to a new roll of tape. Just a little duct tape to tie the two pieces together 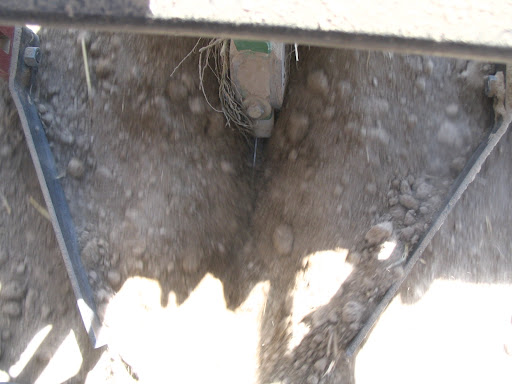
Action shot of the tape going in and being covered up 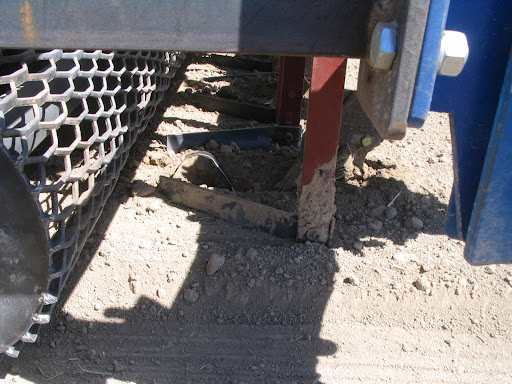
The covering shoes and the packer roller along with a piece of tape pulled up out of the ground 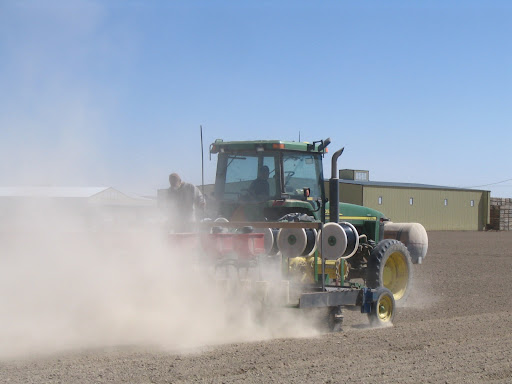
Action shot. It's a little on the bone dry side of things.

Tape layed in and covered up 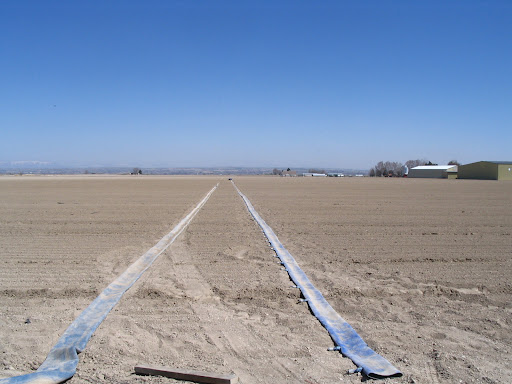
The layflat first getting rolled out.The line on the left is the main feed line going to each of 3 individual zones on the right 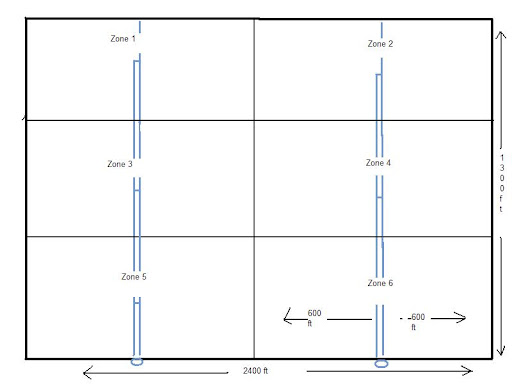
My extremely crude drawing of how the field is layed out with 6 individual irrigation zones 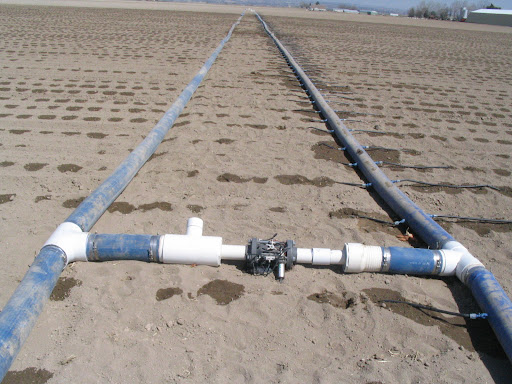
First zone with the water on. Gray thing in the middle is the on and off valve to switch zones 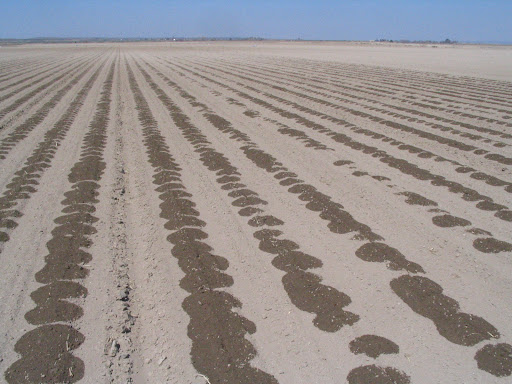
The first few hours of a set. Takes about 24hrs to get fully wet the first time 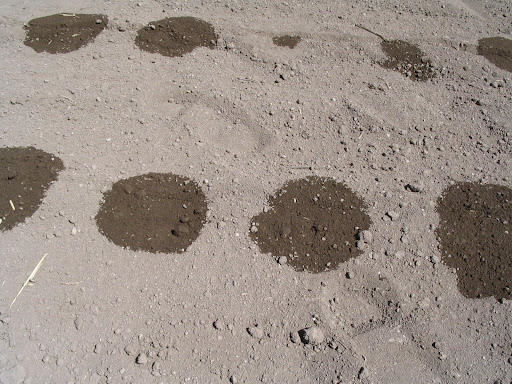
Little wet spots 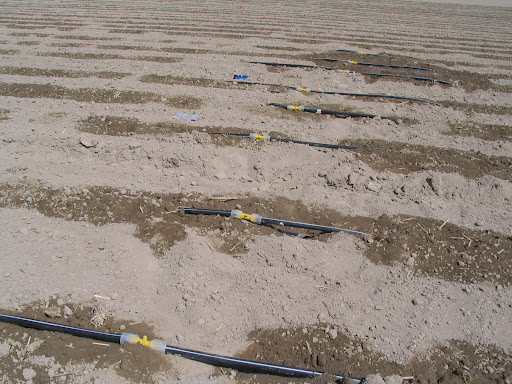
This is where the rolls of tape were switched out in the middle of the field and re-connected 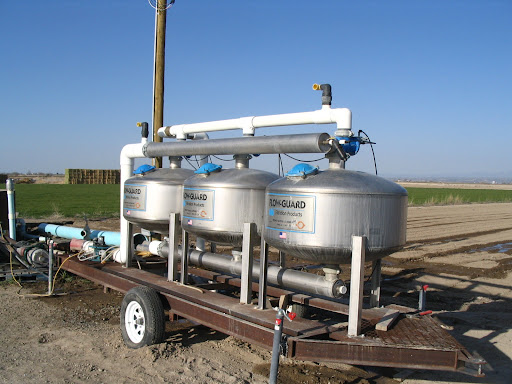
This is the filter station. Basic simple explaination is water enters through the top and is filtered through the sand in the tanks and discharges out the bottom. When the tanks sense a certain amount of pressure differential water changes direction and back flushes contaminants out the top.http://www.fresnovalves.com/sand.htm I guess thats it for this go around. So far so good with how things are working. I anyone is interested or cares i will post again once we get the crop up and how things progress with this field. Sorry if I have to many pics to load easy for those on dialup
Edited by Brian in E Ore 4/20/2008 23:44
|  Pics of drips doing drip rd 2. Quite a few pics

